

Purchase Licences & assign to users
The set up is done from https://workplaceanalytics.office.com/en-us/AnalystSettings/Onboarding, however mine took 2-3 days to activate before the page was available, so I’ll come back to this later. Officially the guidance is that “Licenses can take from 24 up to 72 hours to activate after you purchase licenses. Until licenses are provisioned, unlicensed users will get a 500 error when opening Workplace Analytics”
PREPARATION: Whilst you are awaiting for the onboarding page to activate you may want to read the docs guide on getting set up Workplace Analytics setup | Microsoft Docs. I would recommend reading the user roles guide User roles in Workplace Analytics | Microsoft Docs and deciding upon the user who will need roles assigning. Once you have reviewed the role guidance and decided on the roles required for users, you can assign these in advance of the licence activation.
Assign Roles
Working as a Privileged Role Administrator, sign in to the AAD admin center.
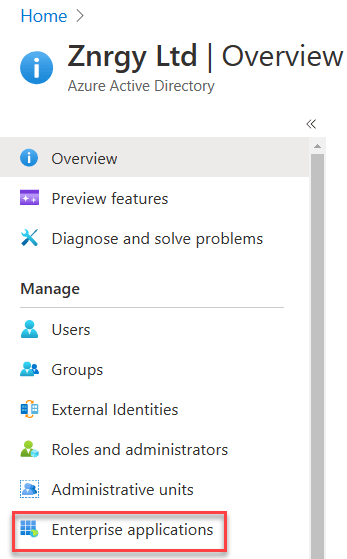
Navigate to Enterprise Applications
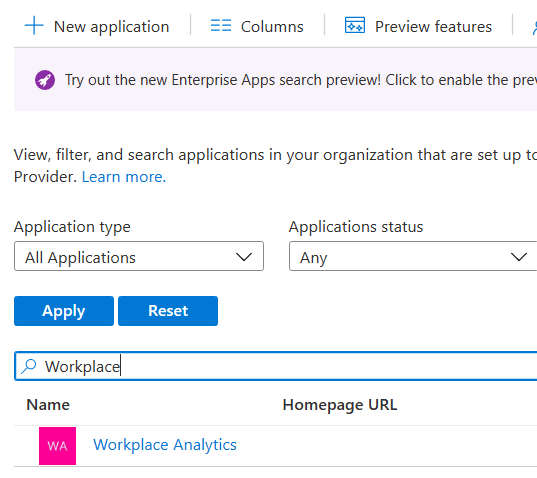
Choose All Applications in the Application Type box

Search for Viva Insights (currently I can only find Workplace Analytics, not Viva Insights as the transition takes place, so check for both if you have issues)
On the Overview page under Getting Started, choose Assign users and groups

Choose Add user/group

Select a user or group by clicking the None Selected link under users and groups, then search for the required user(s) and/or group(s)
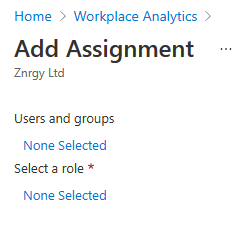
Then select the role. I recommend you start with the Administrator. You need at least 1 Administrator and 1 Analyst. Whilst you can assign the same user multiple roles, they need to be added as separate assignments

Whilst you can assign the same user multiple roles, they need to be added as separate assignments. If you do assign multiple roles to the same users you will see something like the following:

Users assigned roles will received an email informing them. This is the Administrator Email

Configure Workplace Analytics
The next step in your preparation you can do whilst waiting for your licences to activate is to prepare your organisational data. See Prepare organizational data in Workplace Analytics | Microsoft Docs. I built mine in Excel and then saved as a a UTF-8 CSV file.
It is important to include ALL licensed users, but you can include unlicensed users as well.
Your organisational data MUST include the following columns:
- PersonID (the log on email of the user)
- EffectiveDate (start date for the information about the user contained in this file)
- Organization (the internal organisation the user belongs to)
- ManagerID (the log on email of the user’s manager)

The file format is important, so be sure to pick the correct CSV file format.

Once your licences have activated you will find the Onboarding page at https://workplaceanalytics.office.com/. You should see the number of Analysts and Program Managers you assigned permissions to.
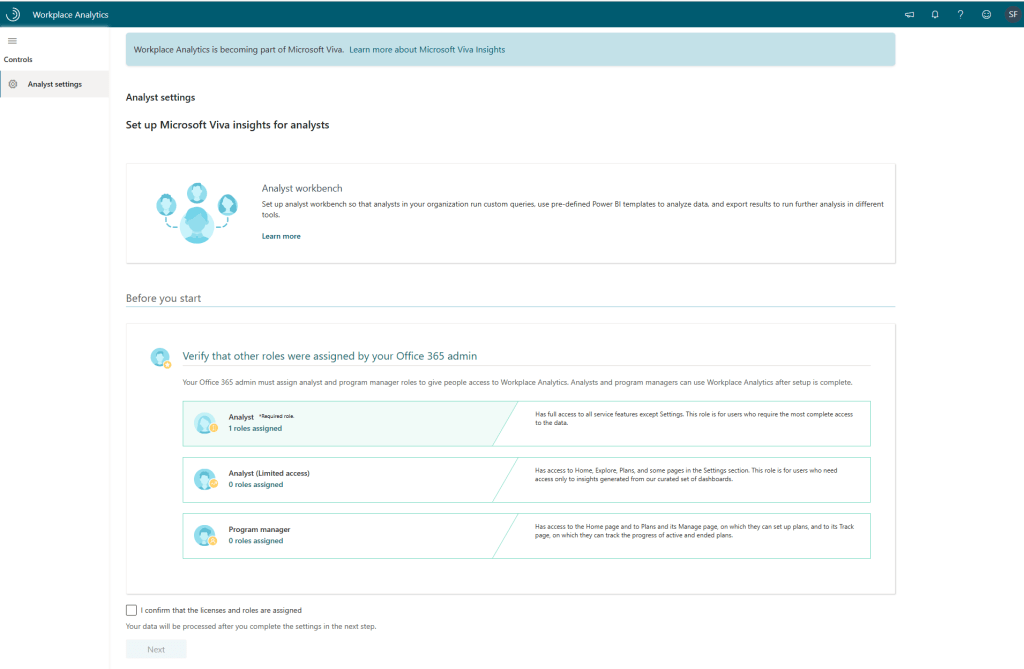
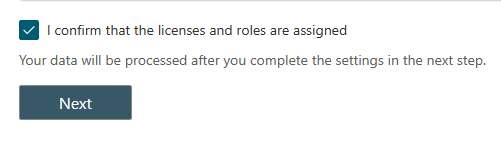
Confirm the correct number of roles are recognised by ticking the box and clicking Next
Next set your system defaults. These will apply to ALL users.
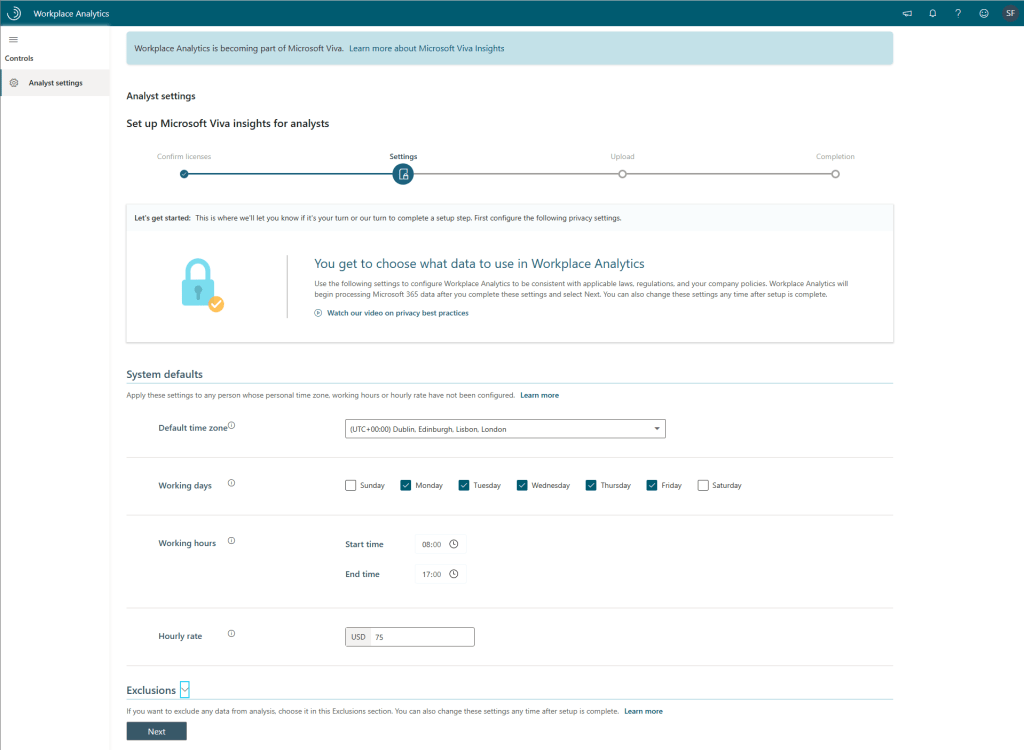
Before clicking Next expand the Exclusions section to add any required exclusions. Also note the minimum group size can be increased to help preserve the anonymity of users within your organisation. 5 is the smallest group for metrics.

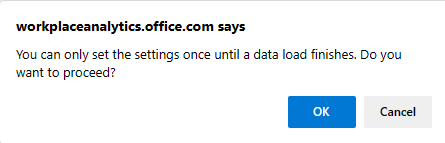
A warning will appear to confirm you cannot change these settings until after the first data load has been completed. However once the Organisational data has been processed then you will be able to adjust the settings, as required.
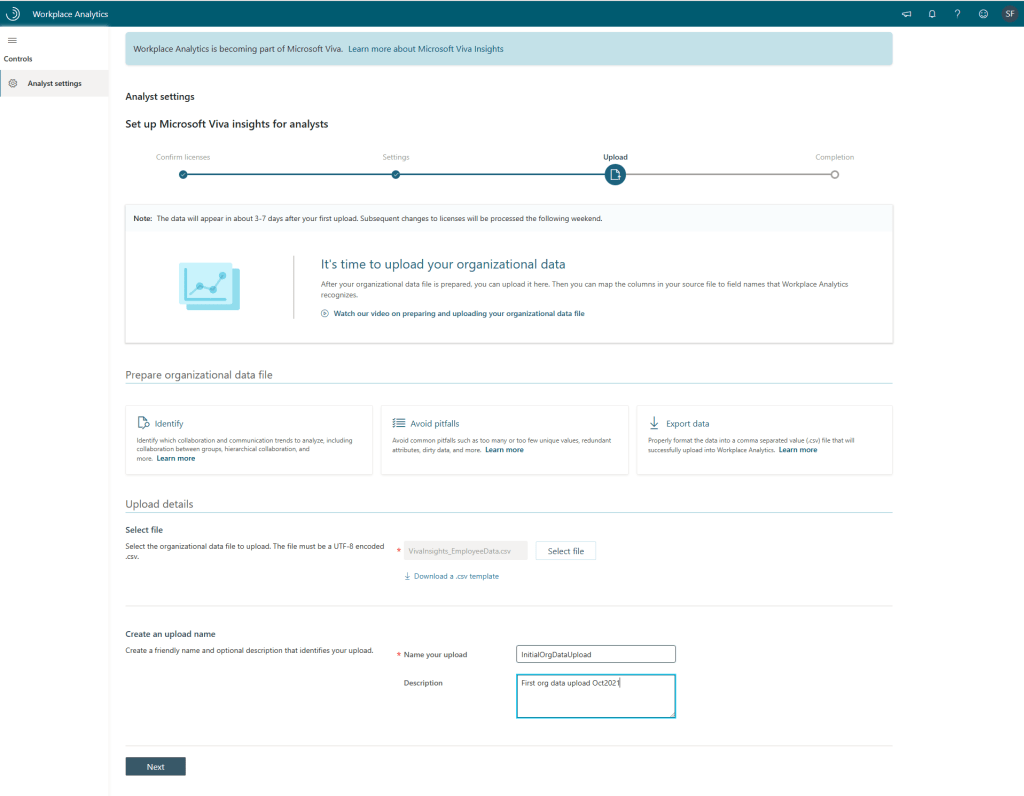
Next you will upload your org data file prepared earlier. There is also an opportunity to download a template at this point, which is shown below. I prepared my file earlier based on the Docs article

Upload your file, name and describe it, then click Next. The name and description will be useful as time goes on and you need to adjust or add to your organisational data.
You will then be asked to confirm the column matching to expected fields to ensure the analytics tool has correctly identified the columns in your organisational data file.

Your file will be uploaded and validated, with the following progress dialog box being displayed whilst this happens

Finally you’ll see the confirmation page that your organisational data file was validated and that the set up is in progress.
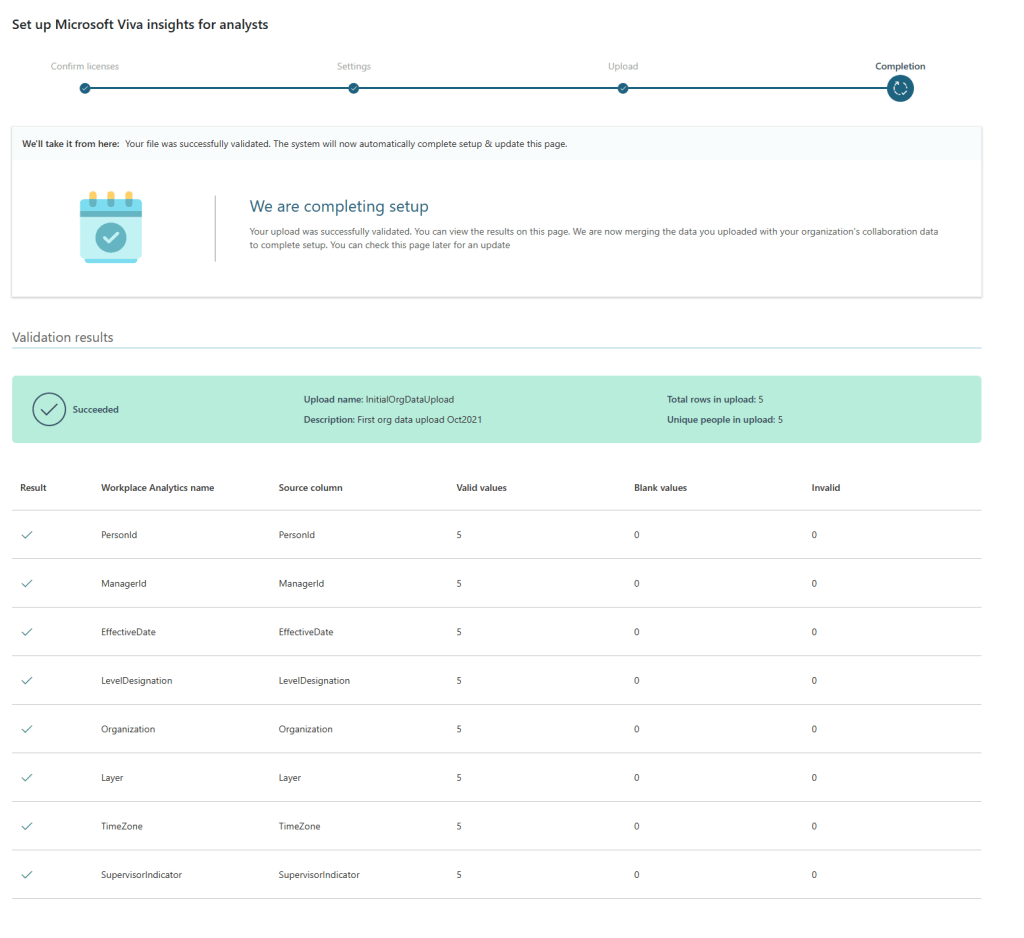
And now you must wait again. The notifications appear to indicate this is processed over the weekend.

With my set up, I experienced an error.

Though after a day, it switched back to progressing. Though this was as far as I got with 1 license in the organisation.

It’s a learning curve. It turned out that with a single license the process could not completed. A minimum of 5 licensed users is needed in the tenant and those 5 need to be included in your organisation data upload too.
Once that issue was resolved in my demo tenant and the weekend update had taken place, we had success! The admin received email notification of such

And the https://workplaceanalytics.office.com/ page now shows the success message. On that page you now need to click Exit to homepage link to continue.

A First Look
The workplace analytics home page shows the key insights that have been discovered for the licensed users. Note that my users are light on activity and hence the majority of insights are empty. Indeed with only 5 licensed users we will fall below the minimum group size for many metrics.

You should also now see the My Organisation and My Team appear in the Viva Insights app in Teams.

If these do not appear, be sure to check permissions required and also verify the minimum group sizes are being met in the Leader & Manager Settings.


The organisation insights in Viva Insights have a series of different sections and provides a PowerPoint download option too.

The PowerPoint file includes sections which match the structure in the Viva Insights app.


2 thoughts on “Setting Up Viva Insights With Per User Plan”