Viva Pulse public preview is available as announced on the Microsoft Viva Blog.
This is a visual walkthrough of the first steps. (EDIT: I missed a step in the original version, this post has been edited to include configuring notifications)
To get started using a Global Admin account visit https://pulse.viva.cloud.microsoft/
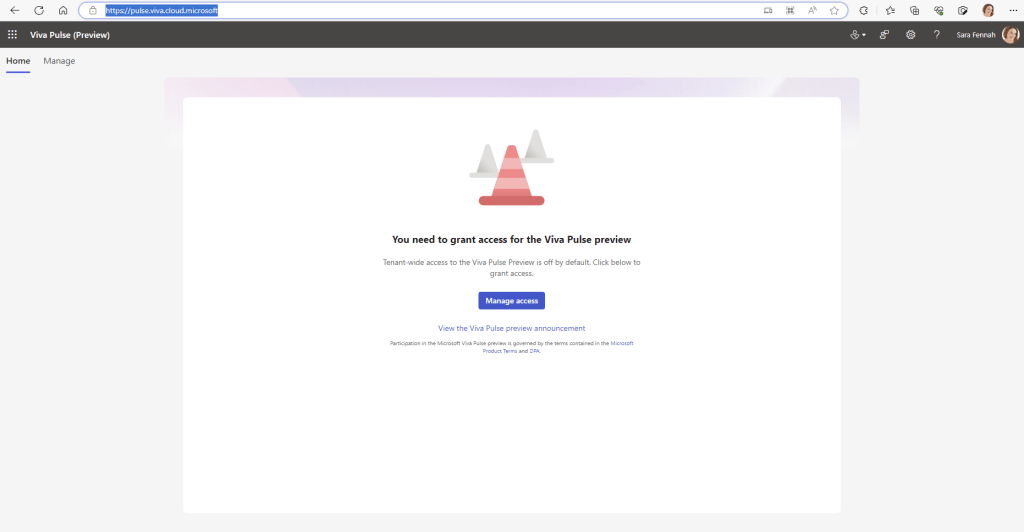
Things to note on this screen are:
- links to the Product terms and DPA or Microsoft Products and Services Data Protection Addendum (DPA) as well as the announcement blog post.
- The URL! Pulse is the first product I’ve seen using the new cloud.microsoft format URL
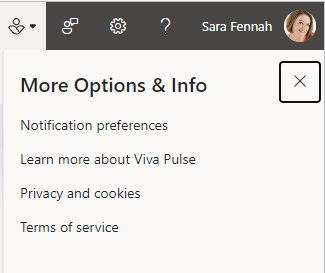
- The Viva icon is a menu
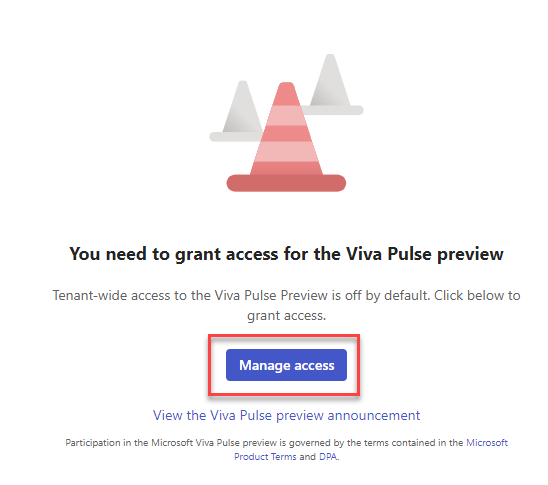
Next, click the Manage Access button
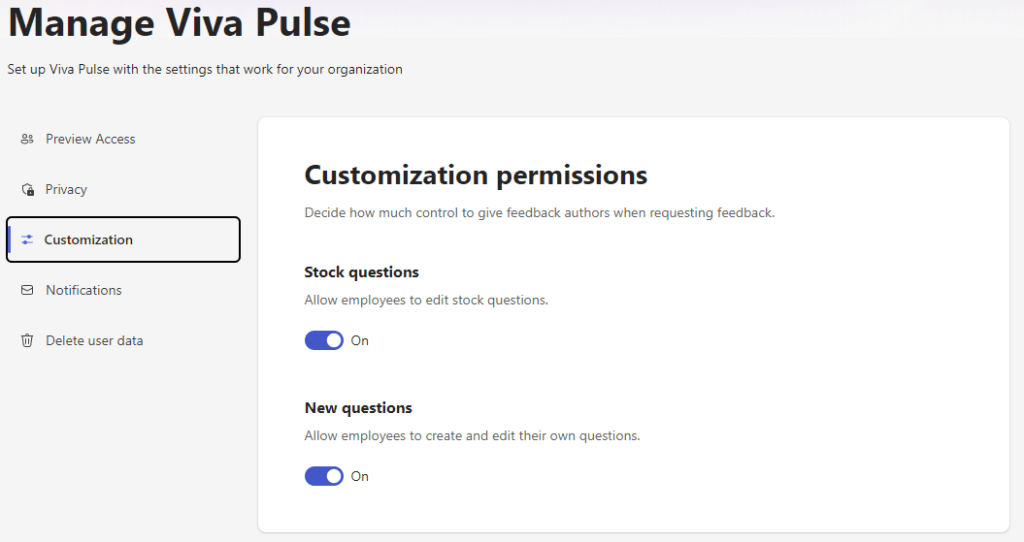
Turn on the public preview via the toggle

Additional options then appear

Under Privacy, the default number of responses is set to 5, but can be reduced to 3. Privacy is an important factor and you should consider these issues. Whilst these are the appropriate settings for my tenant they are not a recommendation of best practice.

Customization settings allows you to block or permit users to edit stock questions or create custom questions. If both are disabled only standard stock questions will be available.
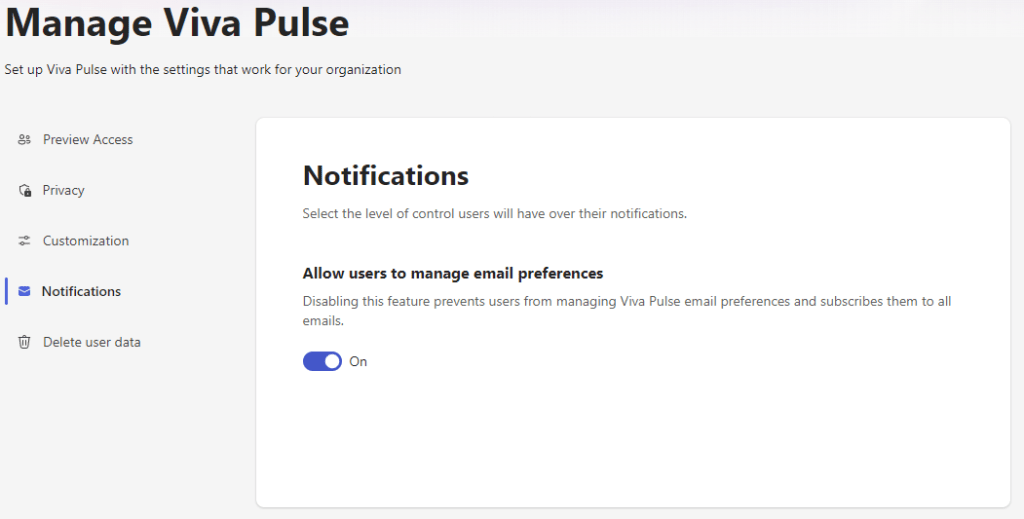
Under notifications, choose if users can subscribe to updates from Viva Pulse via email or not.
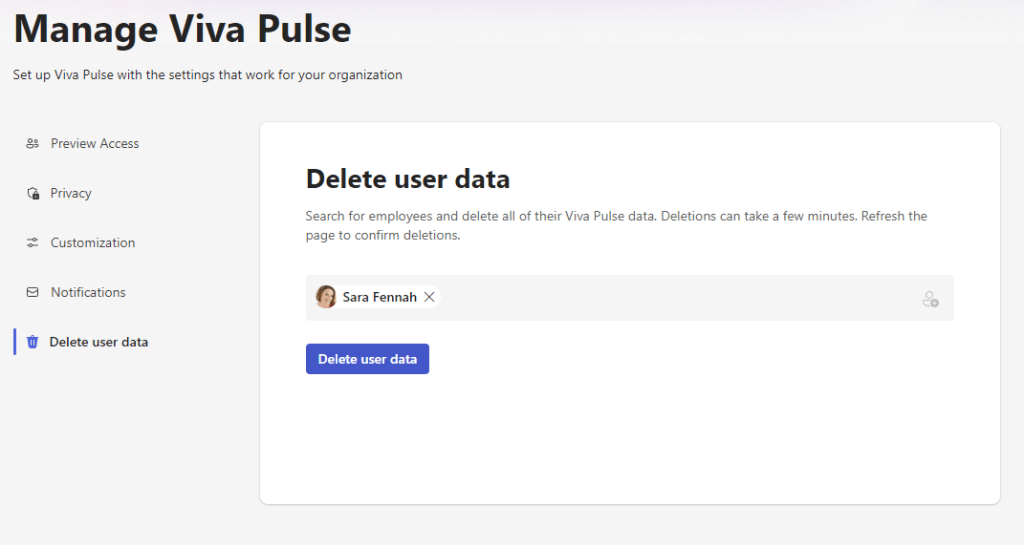
It’s great to see delete user data option in here too. I can see many scenarios where it will be necessary to delete user data. For example during preview, people will be contributing to surveys and it may be inappropriate to keep the results, as they are likely to be dummy responses and not helpful for tend analytics later.
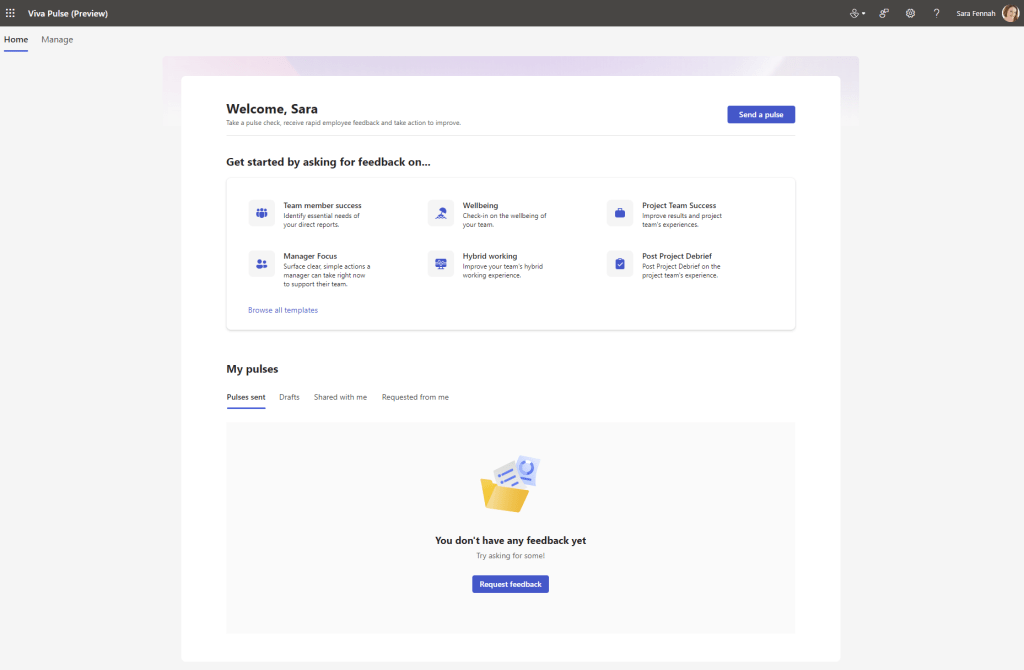
Having reviewed the settings, click back onto Home link and you will see the welcome page.
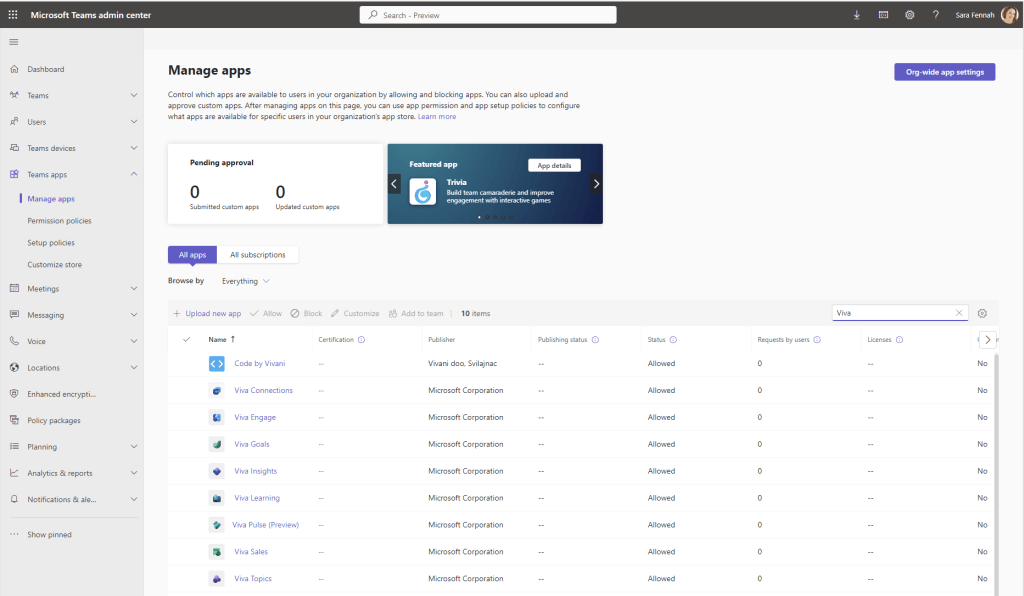
If you wish to use the Teams app, ensure it is enabled for your users, via the Teams Admin Center. This is the same process as for other Teams apps, however there is an article on Microsoft Learn to guide you through the process: see Manage, install, and pin Viva Pulse in the Teams admin center
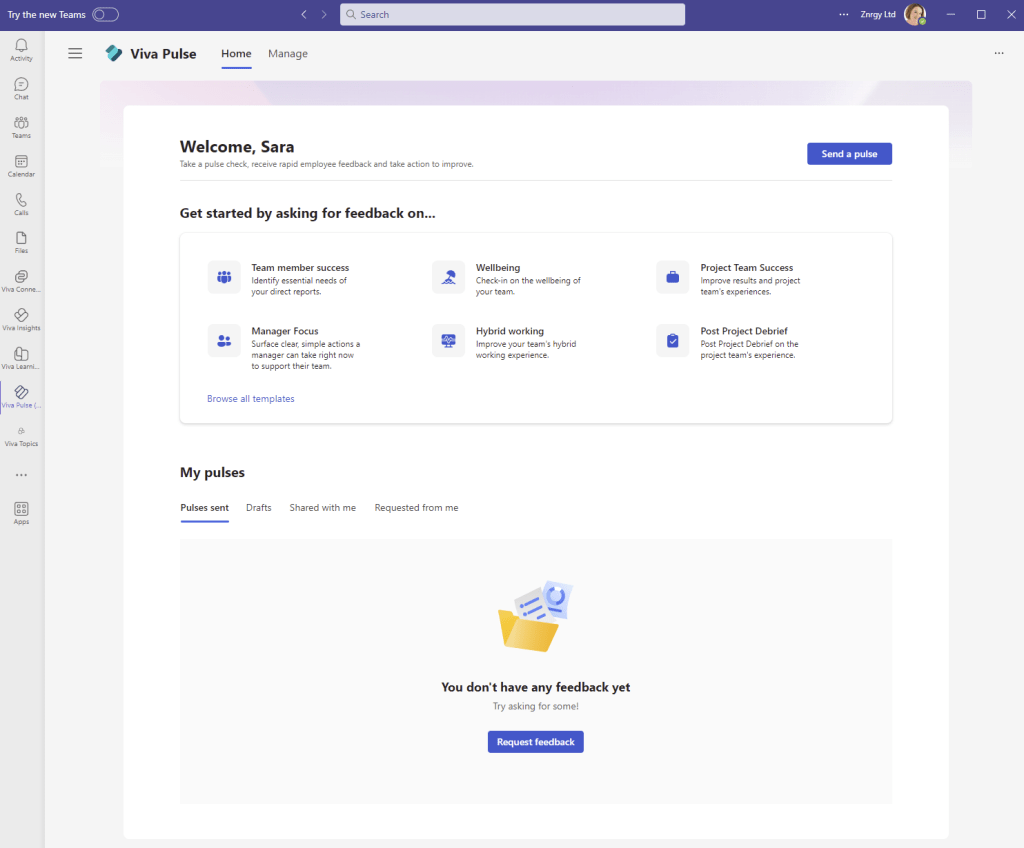
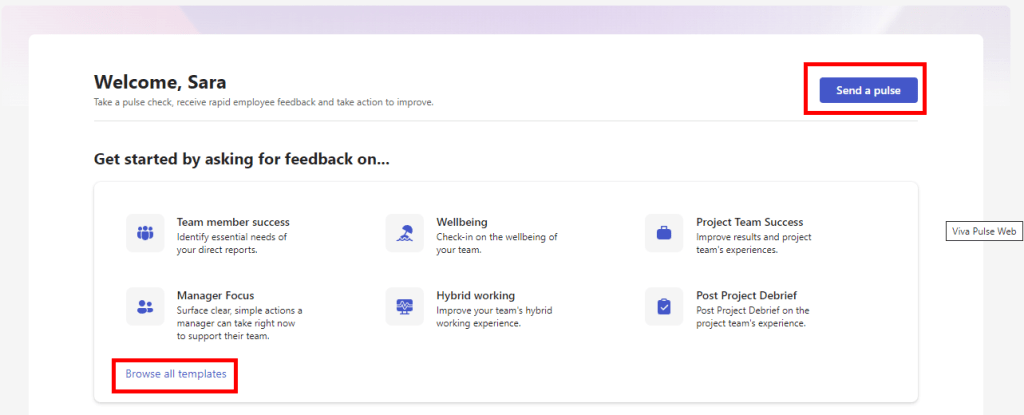
To send your first pulse, you can click Send a pulse or Browse all templates
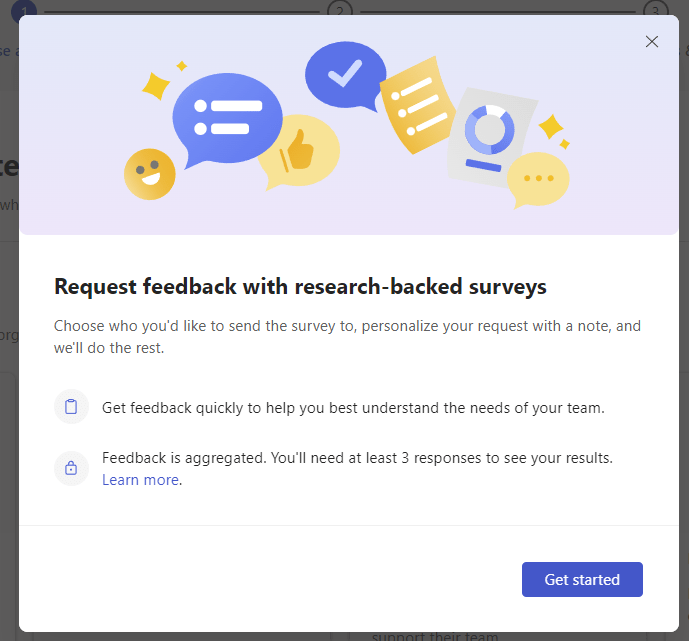
A information dialog pops up explaining the purpose of Pulse
And you can then browse the templates to choose a starting point for your survey.
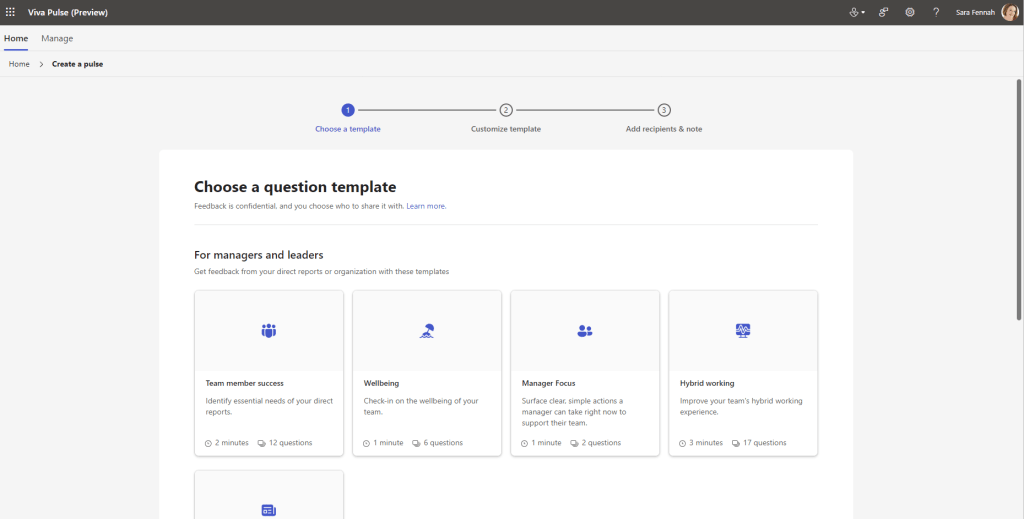
I chose Wellbeing. There is a little reminder about appropriate user policies which pops up, as shown in the bottom right hand corner of the screenshot.
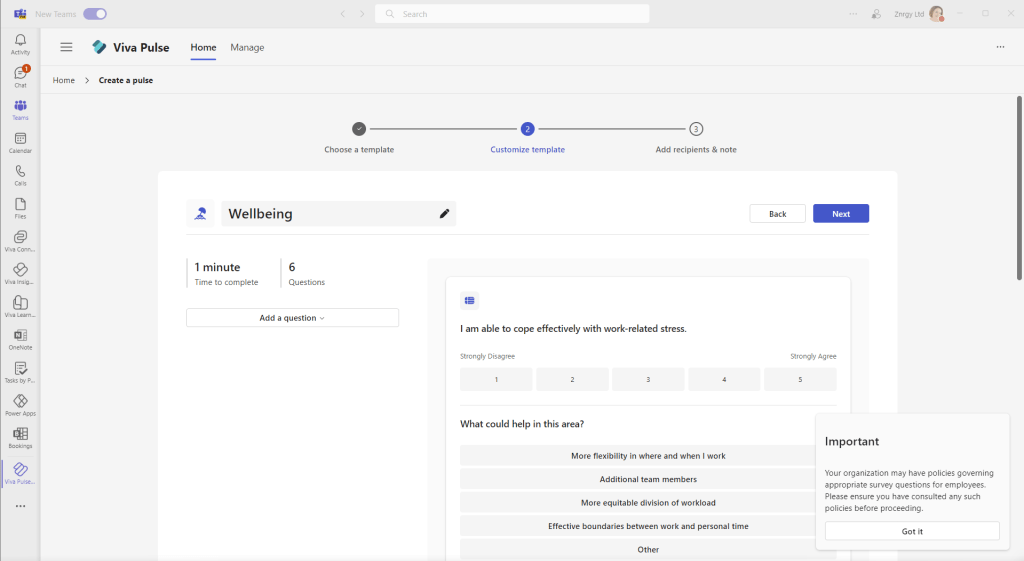
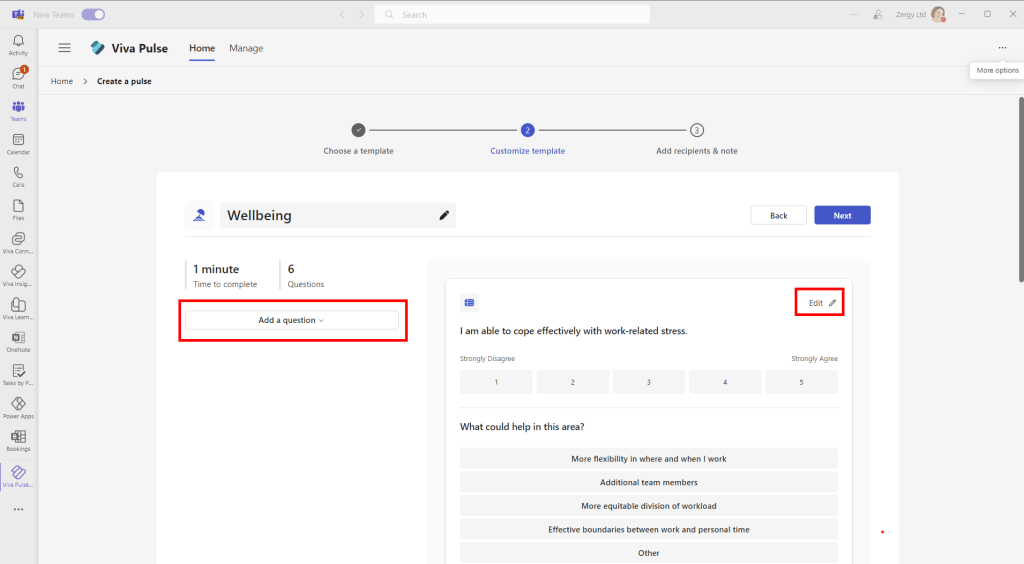
As I allowed all customization, I can now edit each question and add my own.
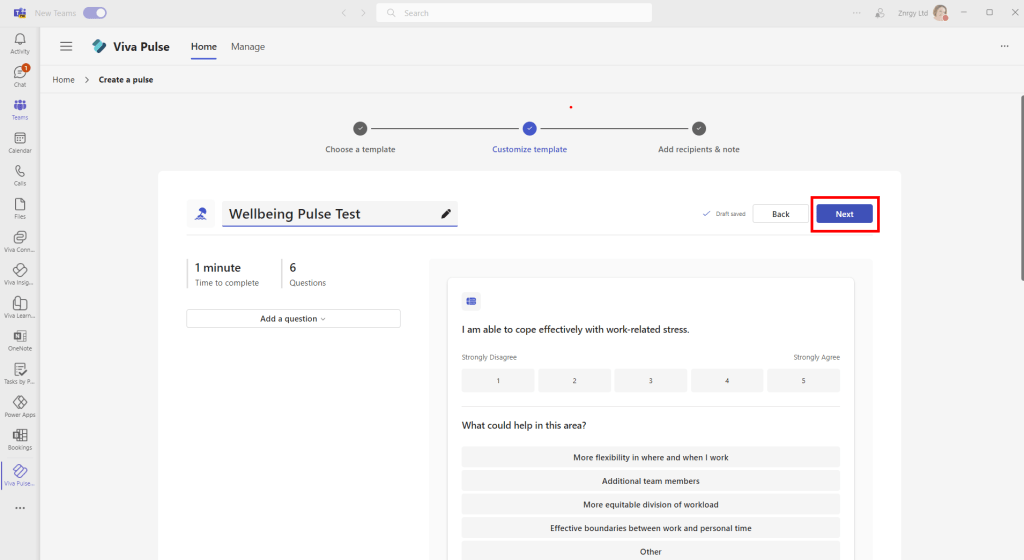
In this first walk through, I left the survey with the default questions, but edited the survey title to Wellbeing Pulse Test and clicked Next to choose recipients
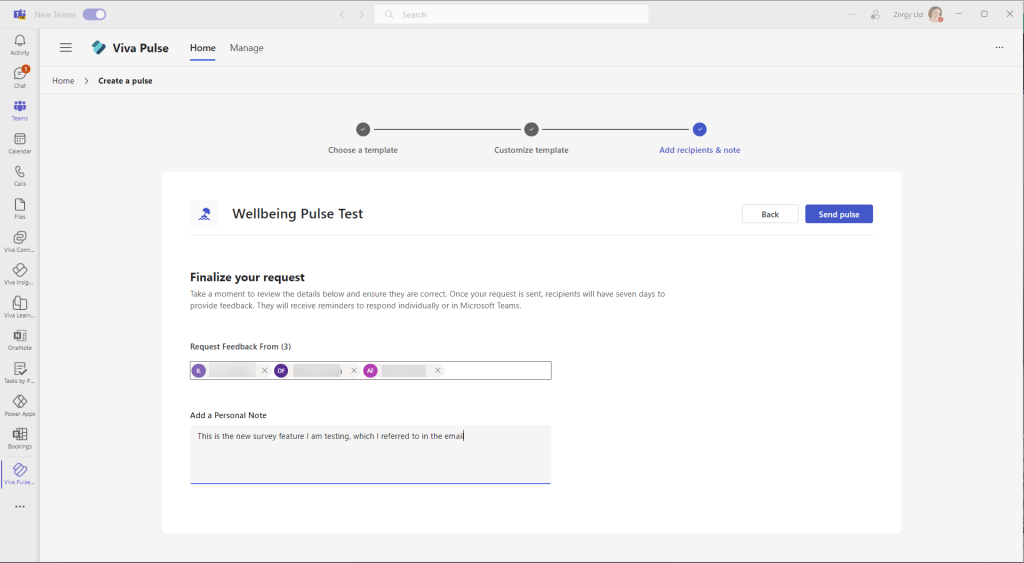
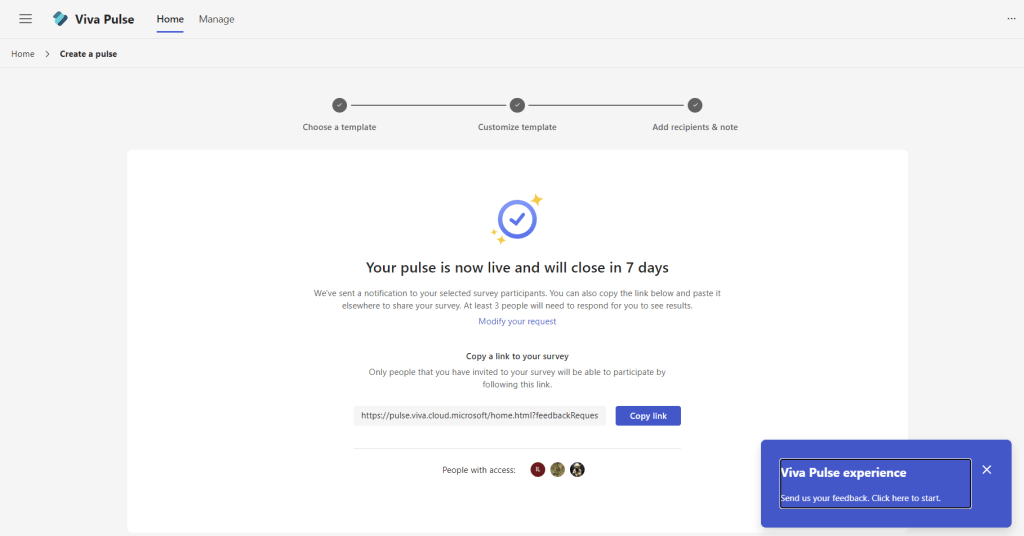
So now I just need my recipients to respond to the survey!
Edit starts here!
In the original blog above I missed allowing notifications which meant my users received emails which had the subject “Display Name” has requested your feedback.
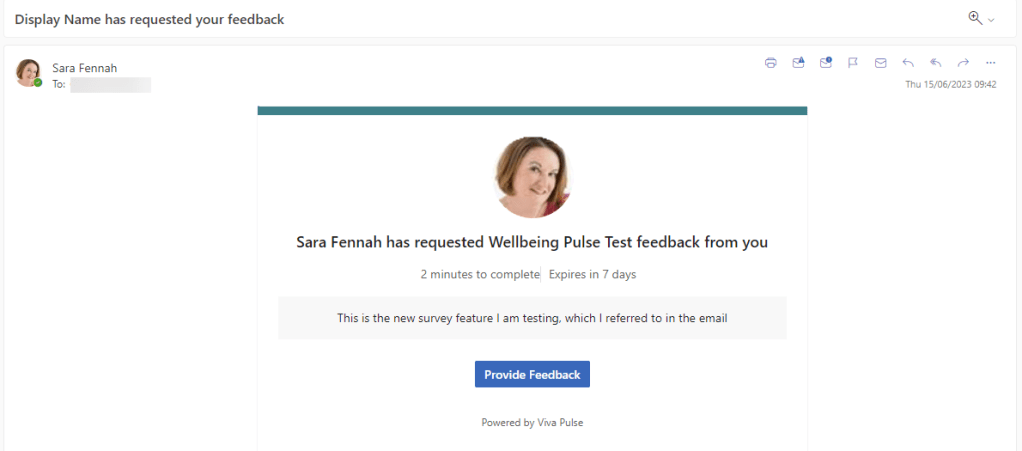
At least in the preview, permission needs to be given for Pulse to access user properties in Azure AD. This is included in the Microsoft Learn guidance, though that does use the older PowerShell Azure AD method not the new PowerShell Graph commands. Thanks to @kevmcdonk for the updated script and confirming the cause.
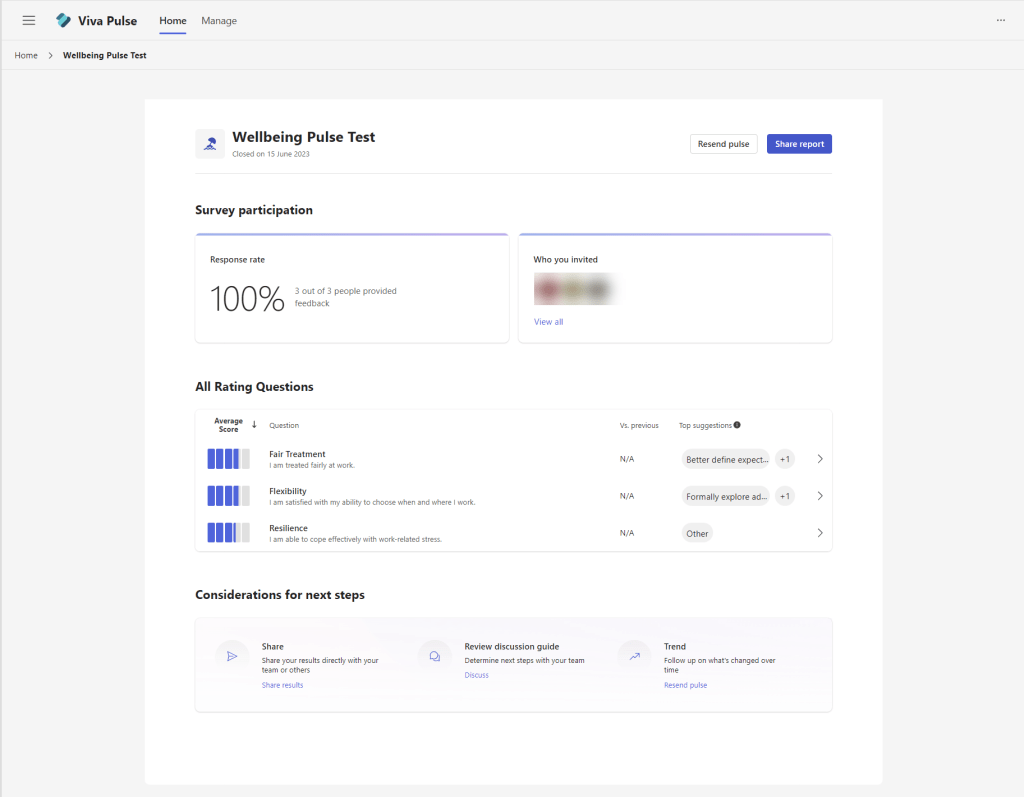
My finished report shows a summary of the responses and links to recommendations to improve the score going forwards.
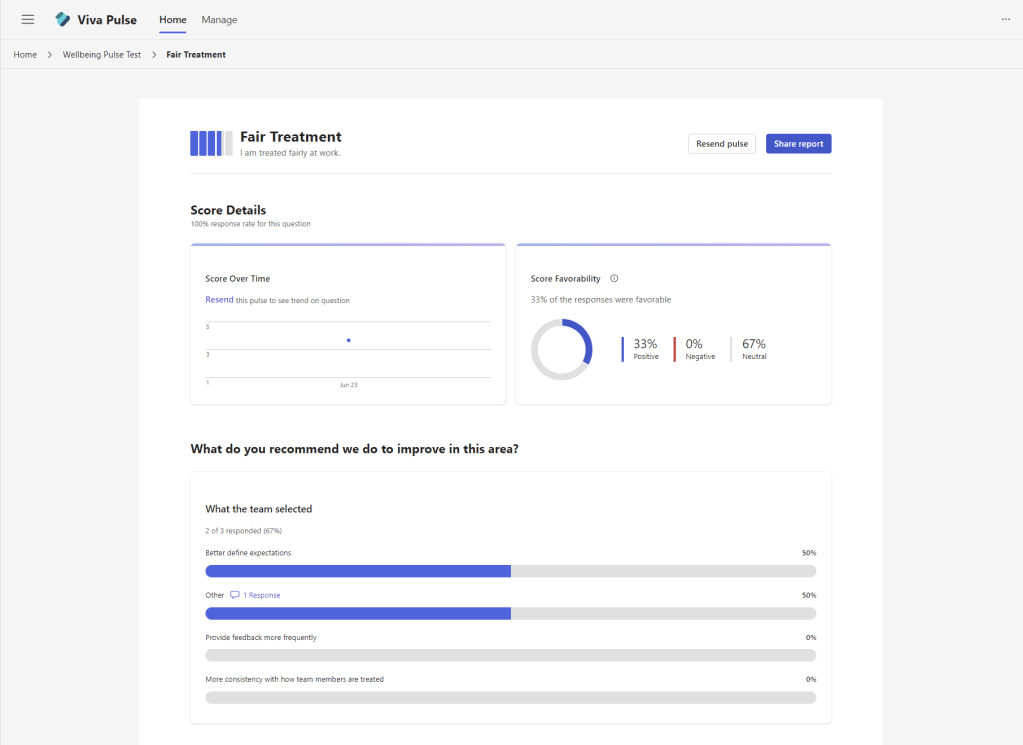
I can honestly say that I was glad this is not true workplace feedback, but my family obviously feel I need to be more clear how I communicate my requirements in the futures.
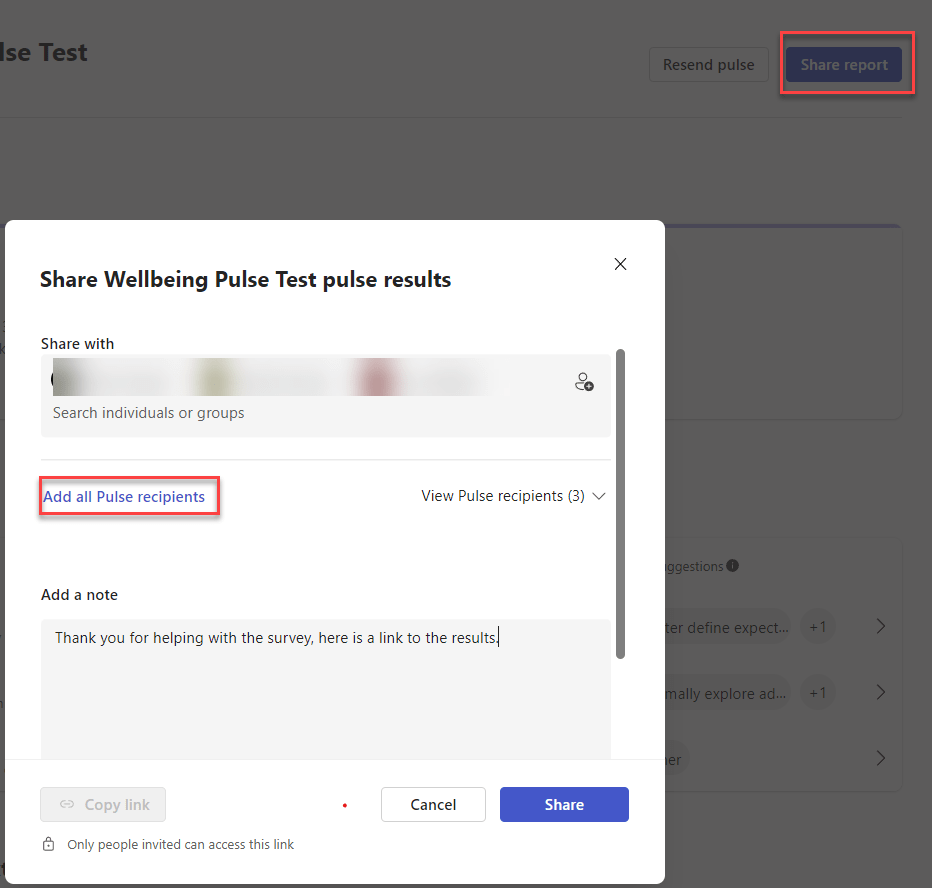
Using the Share Report button I was able to send the summary to the participants and thank them for their contributions.
References:
Set up Viva Pulse Public Preview for your organisation | Microsoft Learn

One thought on “First Steps with Viva Pulse Preview”