You may have started to see meeting expiry recording notifications in Microsoft Teams. Before you panic, you it is simply letting you know that the expiry date is now being enforced.
Meeting recording expiry is set by the meeting policy assigned to the user who recorded the meeting.

The person who recorded the meeting and the meeting organiser can view and edit the expiry date by clicking here in the message View or change the expiry date here.
This will take you to the recording. Clicking the i icon will open the file properties pane, which includes the meeting expiry date.

Once you start playing a meeting recording you will also see some icons on the top right.
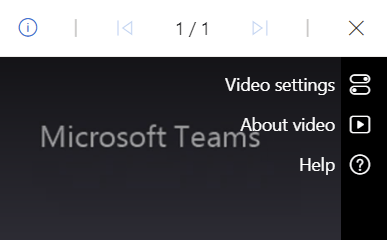
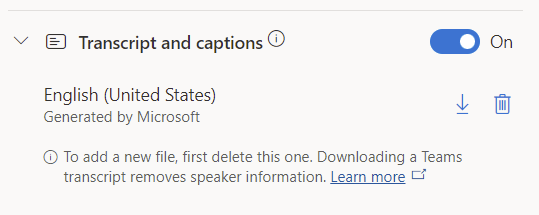
Video settings enables the automatic generation of a video transcript or upload, if one has already been generated, as well as the creation of chapters in the video and toggle to turn on/off the About video section.

Once a transcript has been generated it can be downloaded.
About Video, includes the title which was taken from the meeting title, but can be edited and a description added as well.

The transcript shows up from the Transcript button, and the transcript can be used to navigate through the recording, by clicking on to the text in the transcript at the point of the meeting recording you wish to jump to.

With Chapters switch on, you can create chapters in the recording. Pause the recording where the new chapter should start and click the New chapter button, enter the chapter title and click the tick to create.

The chapters can then be used to jump to the marked point in the video.
