This blog was a guest post originally featured on https://www.leadershipthroughdata.co.uk/category/blogs/
eDiscovery is used to conduct content investigations in Microsoft 365. There are 3 eDiscovery solutions with slightly features. All 3 can be used to discover Teams data, though not ALL Teams data is discoverable.
Discoverable Teams information and where it is stored for compliance purposes such as eDiscovery is shown in the table below.
| Content | Stored in | Notes |
| Chat Messages | User Mailbox | This includes emojis, gifs, stickers and inline images as well as content displayed in ‘cards’ |
| Files Shared in Chat Messages | OneDrive | It is also possible to set retention so the version of the file shared is discoverable (see Ignite 2021 updates in Further reading) |
| Teams Channel Messages | Group Mailbox | This includes emojis, gifs, stickers and inline images as well as content displayed in ‘cards’ |
| Files shared in channel chat messages | SharePoint | It is also possible to set retention so the version of the file shared is discoverable (see Ignite 2021 updates in Further reading) |
| Edited Chat & Channel Messages | User/Group Mailbox | For users/groups on hold, then the previous version of the messages are also available to eDiscovery |
| Meeting Chat (Private Meetings) | User Mailbox | |
| Files shared in Meeting Chat (Private Meetings) | OneDrive | It is also possible to set retention so the version of the file shared is discoverable (see Ignite 2021 updates in Further reading) |
| Meeting Chat (Channel Meetings) | Group Mailbox | |
| Files shared in Channel Meeting Chat | SharePoint | It is also possible to set retention so the version of the file shared is discoverable (see Ignite 2021 updates in Further reading) |
| Meeting & Call Metadata | User Mailbox | This includes start/end time of meeting & join/leave time for each participant |
| Meeting Recordings / Transcripts (Private Meetings) | OneDrive | Stored in OneDrive of user who starts the recording/transcript. Recordings can only be |
The following content is NOT discoverable using eDiscovery:
- Audio recordings
- Code snippets
- Channel name
- Reactions
- Feed notifications
The storage location shown above is important for two reasons:
- To help choose locations to include in the eDiscovery search
- To understand where the data show up when exporting the results. Anything stored in a mailbox will be exported into a pst file, while OneDrive & SharePoint content is exported in file folders.
In the walk through we are going to use the Content Search functionality as we are focusing on the search and export functionality. Core eDiscovery and Advanced eDiscovery can both be used to find the Teams information and have different additional functionality to the Core Search.
The features of the different eDiscovery solutions are summarised in the following table which is sourced from the Microsoft Docs article on eDiscovery (see further reading at the end of this article)
| Content Search | Core eDiscovery (additional to Content Search) | Advanced eDiscovery (additional to Core) |
| Search for data/content Keyword queries and search conditions Export search results Role based permissions to use | Case management Legal hold | Custodian Management Legal hold notifications Advanced indexing Review sets incl filtering OCR Conversation Threading Collection Statistics & Reporting Tagging Analytics Predictive coding models Error Remediation Computed document metadata Transparency of long running jobs Export to Azure storage location |
Content Search Walk Through for Teams Data
In this walk through we are conducting a search to check for content related to a new project. This content has been spread across multiple Teams, including private channels and in direct 1:1 chat with files having been created and saved in various locations.
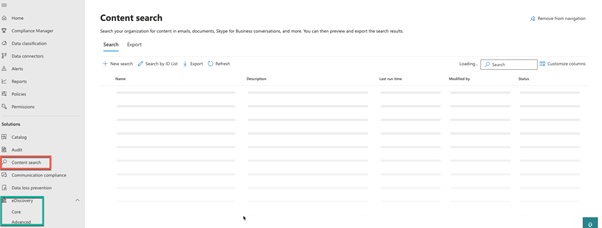
Navigate to the compliance center https://compliance.microsoft.com and choose Content Search. Although Content Search is an eDiscovery function it is not included in the eDiscovery sub menu.
Click New search, then complete the Name and Description for the search you want to perform.

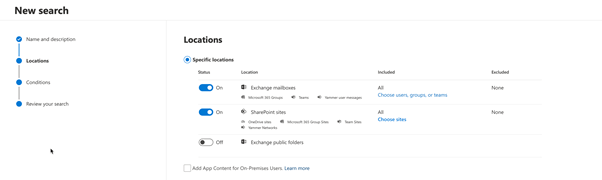
Click Next then choose the locations to be searched. To cover all Teams locations you will need to include mailboxes for all Teams users including guests and all SharePoint sites for the Teams.
There are potential issues with the example here, in that we have included all mailboxes and all SharePoint sites. The results will include all discoverable Teams content but also emails and files in other SharePoint sites. This may not be detrimental but you should be aware that the result will include more than Teams data.
Click Next and then create your search using combination of keywords and conditions such as creation date, sender, etc.

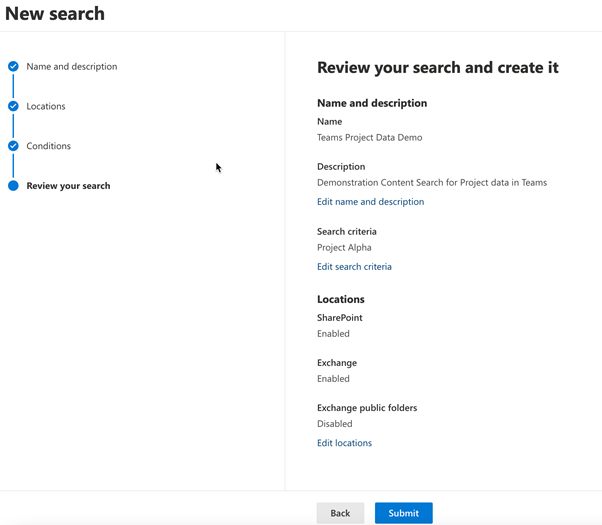
Click Next and review the summary of the setting you have specified before clicking Submit to start the search.
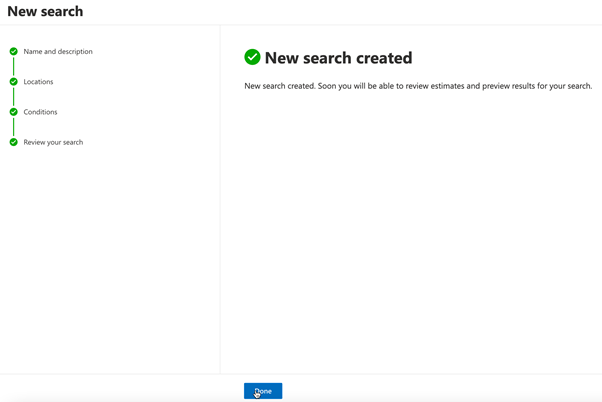
Next you will see confirmation that the search has been created and is in progress. Click Done. How long it take till the results are available will depend on the volume of content being searched.
When you click Done you will return to the Content Search page and will be able to see the status of your new search
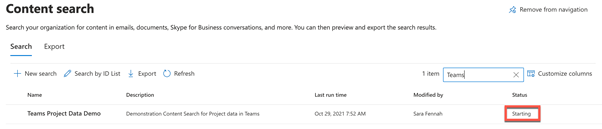
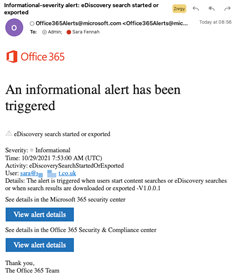
Note that an alert has been sent to all Global Admins that an eDiscovery Search has been started. This is the default behavior.
Once the search is showing as completed, click onto the search name to load the results.

You can see the search statistics, showing how many items have been found.
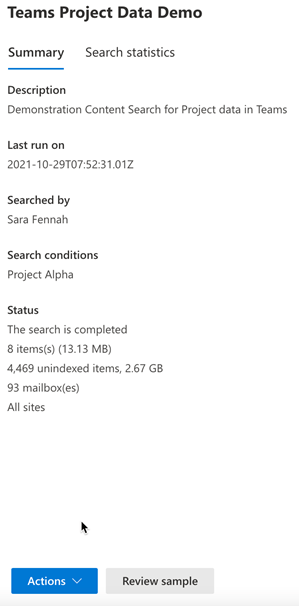
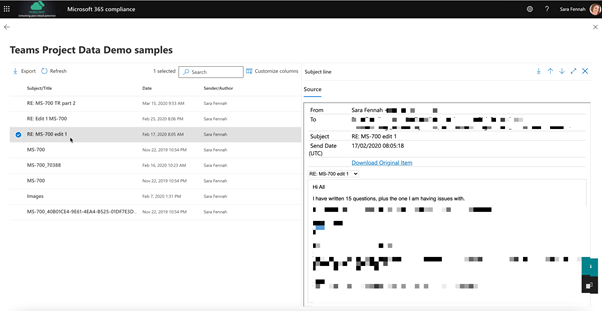
Click Review sample to check the information which has been found to verify your search worked as expected.
You can then export the results or a report on the results from the Actions menu.
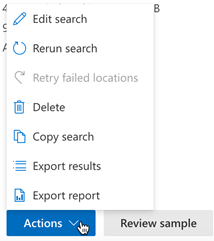
If you choose to export the results then you will be presented with options of how you want to export the discovered data.
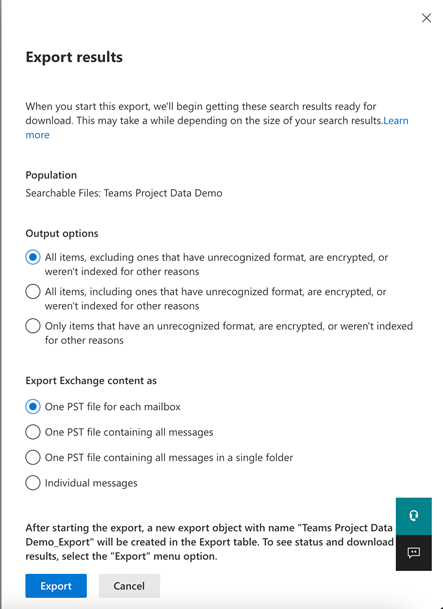
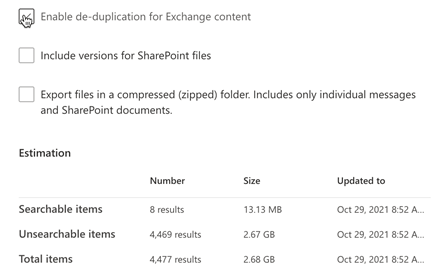
Don’t forget to scroll before clicking the Export button as there are further options, which never seem to fit on the one screen.
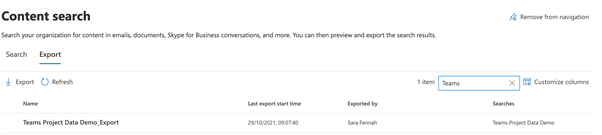
Your export will be prepared and once ready will be found under Export on the main Content Search screen. Click on the name of the search you want to export data from.
You will need the Export Key, so be sure to copy it! Click Download results to start the download of the exported results.

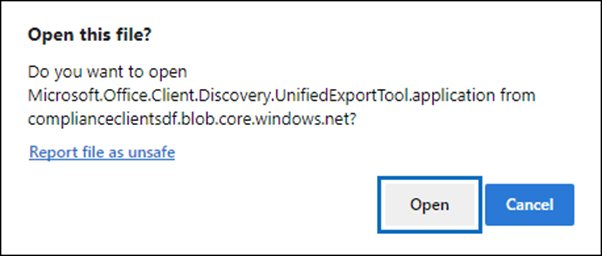
You should see a pop up asking to open the file. This is the specific tool used for eDiscovery, called the eDiscovery Export Tool.
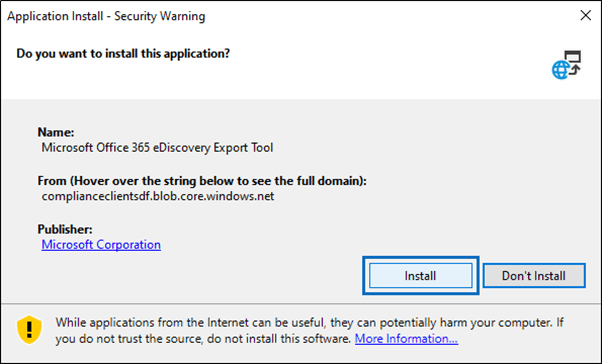
Install the application.
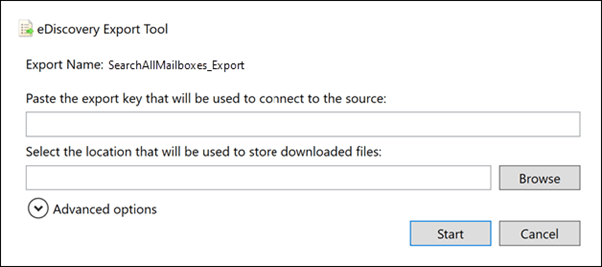
The next prompt will ask for that Export key and the location you want to save the exported pst and file folders to.
Once extracted you will be able to open the file folder and add the PST files to Outlook to review. Remember teams messages will be in the PST files in Teams Chat folder.
Further Reading
Updates from Microsoft Ignite (Nov 2021) on governing data in Microsoft Teams: https://techcommunity.microsoft.com/t5/security-compliance-and-identity/microsoft-information-governance-new-ways-to-govern-your-data-in/ba-p/2815238?WT.mc_id=M365-MVP-5004583
https://docs.microsoft.com/en-us/microsoft-365/compliance/ediscovery?WT.mc_id=M365-MVP-5004583
https://docs.microsoft.com/en-us/microsoftteams/location-of-data-in-teams?WT.mc_id=M365-MVP-5004583
